Authentication
Overview
Section titled “Overview”Rebase includes a complete authentication system:
- JWT tokens — Access and refresh token flow
- OAuth Plugins — Pluggable architecture for Google, LinkedIn, and more
- User management — Signup, login, password reset
- Role-based access — Assign roles to users, check permissions in collections
- Auto-bootstrapping — First user automatically gets admin role
Backend Configuration
Section titled “Backend Configuration”await initializeRebaseBackend({ // ... auth: { jwtSecret: process.env.JWT_SECRET!, // Required accessExpiresIn: "1h", // Access token lifetime refreshExpiresIn: "30d", // Refresh token lifetime requireAuth: true, // Require auth for data API allowRegistration: false, // Allow new signups google: process.env.GOOGLE_CLIENT_ID ? { clientId: process.env.GOOGLE_CLIENT_ID, clientSecret: process.env.GOOGLE_CLIENT_SECRET } : undefined, linkedin: process.env.LINKEDIN_CLIENT_ID ? { clientId: process.env.LINKEDIN_CLIENT_ID, clientSecret: process.env.LINKEDIN_CLIENT_SECRET } : undefined, email: { // Optional — for password reset smtp: { host: "smtp.gmail.com", port: 587, secure: false, user: "noreply@example.com", pass: "app-password", from: "Rebase <noreply@example.com>" } } }});Custom Auth Adapters
Section titled “Custom Auth Adapters”Rebase allows complete replacement of the default authentication system via the AuthAdapter interface. Pass a custom adapter to the auth property to bypass the built-in JWT and user table mechanism entirely (for example, to integrate with Firebase Auth, Auth0, or an external corporate SSO provider).
Auth tables (rebase.users, rebase.roles, rebase.user_roles, rebase.refresh_tokens) are auto-created on first startup.
Auth Endpoints
Section titled “Auth Endpoints”| Method | Path | Description |
|---|---|---|
POST | /api/auth/register | Create a new account |
POST | /api/auth/login | Login with email/password |
POST | /api/auth/refresh | Refresh the access token |
POST | /api/auth/<provider-id> | Dynamic sign in endpoint for any configured OAuth provider (e.g. /api/auth/google, /api/auth/linkedin) |
POST | /api/auth/logout | Revoke refresh token |
POST | /api/auth/forgot-password | Send password reset email |
POST | /api/auth/reset-password | Reset password with token |
Frontend Setup
Section titled “Frontend Setup”Auth Controller
Section titled “Auth Controller”import { useRebaseAuthController } from "@rebasepro/auth";import { createRebaseClient } from "@rebasepro/client";
const client = createRebaseClient({ baseUrl: API_URL, websocketUrl: WS_URL });
const authController = useRebaseAuthController({ client, googleClientId: GOOGLE_CLIENT_ID // Optional});
// Available properties:authController.user // Current user object (or null)authController.initialLoading // True while checking stored sessionauthController.signOut() // Log outauthController.getAuthToken() // Get current JWT for API callsLogin View
Section titled “Login View”import { RebaseLoginView } from "@rebasepro/auth";
if (!authController.user) { return ( <RebaseLoginView authController={authController} googleEnabled={!!GOOGLE_CLIENT_ID} googleClientId={GOOGLE_CLIENT_ID} /> );}User & Role Management
Section titled “User & Role Management”Backend Services
Section titled “Backend Services”After initialization, the backend instance provides userService and roleService:
const { userService, roleService } = instance;
// List all usersconst users = await userService.listUsers();
// Assign a roleawait roleService.assignRole(userId, roleId);
Frontend Components
Section titled “Frontend Components”Rebase provides built-in views for managing users and roles:
import { UsersView, RolesView } from "@rebasepro/core";import { useBackendUserManagement } from "@rebasepro/auth";
const userManagement = useBackendUserManagement({    client: rebaseClient,    currentUser: authController.user});
// In your routes:<Route path="/users" element={<UsersView userManagement={userManagement} />} /><Route path="/roles" element={<RolesView userManagement={userManagement} />} />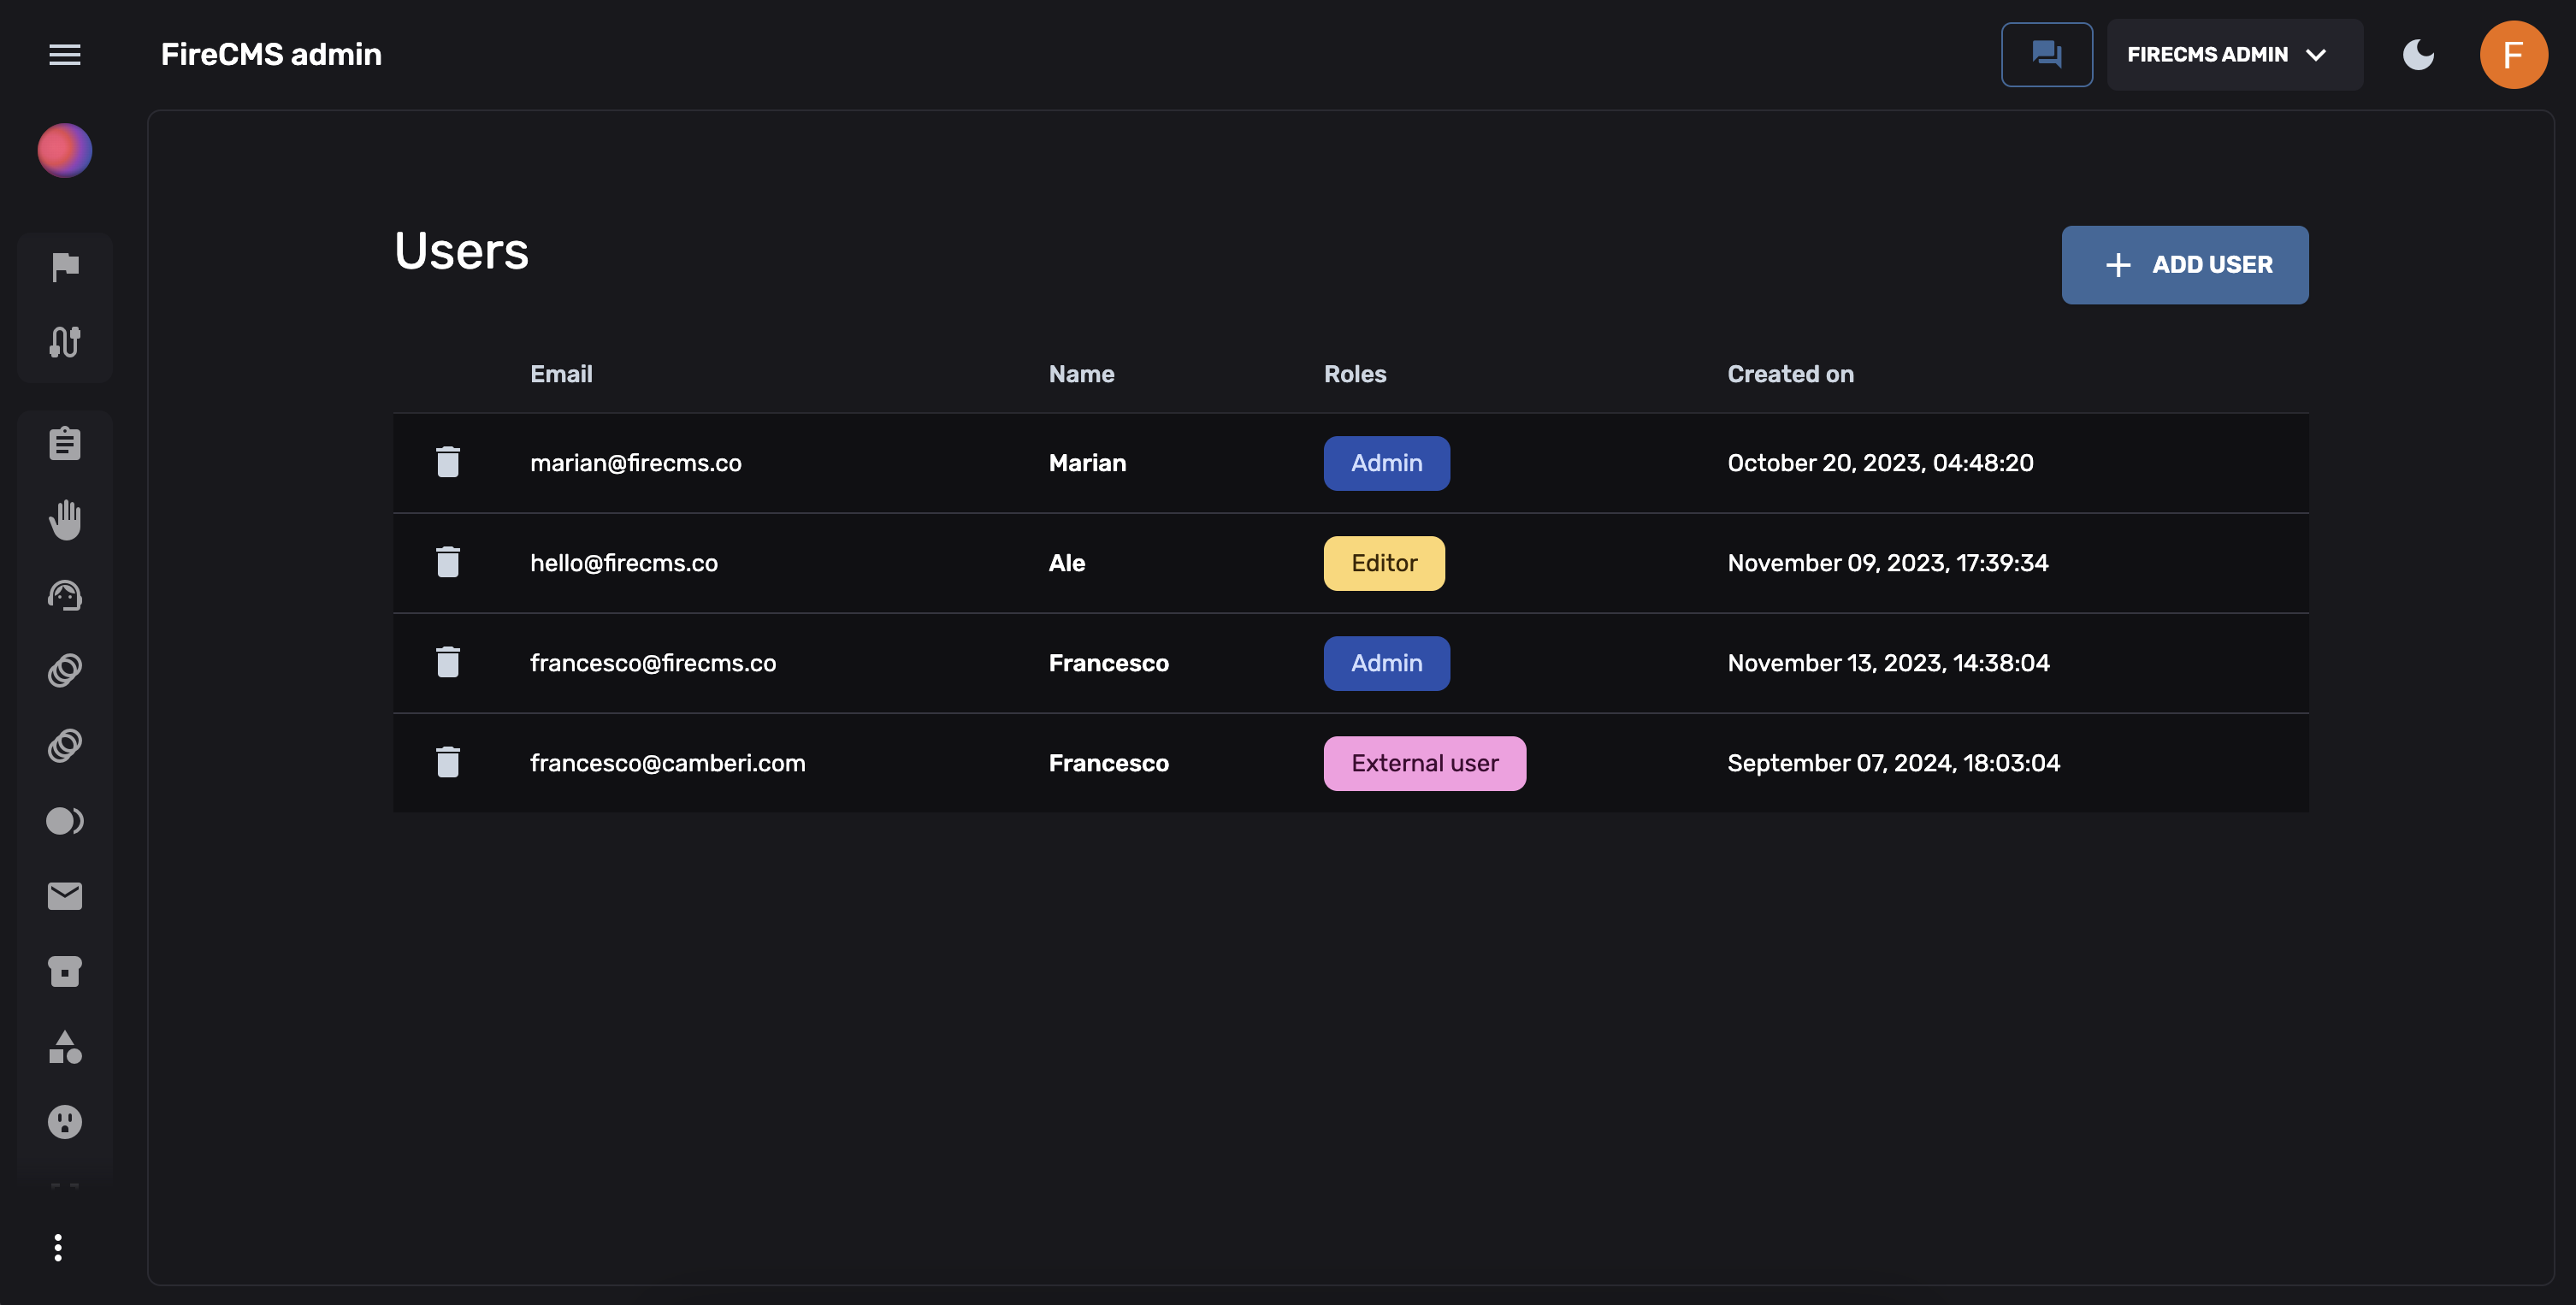
Role Simulation (Dev Mode)
Section titled “Role Simulation (Dev Mode)”In developer mode, you can simulate different roles without logging out:
import { useBuildEffectiveRoleController } from "@rebasepro/core";
const effectiveRoleController = useBuildEffectiveRoleController();
// When active, the UI behaves as if the current user has this roleeffectiveRoleController.setEffectiveRole("editor");
First User Bootstrap
Section titled “First User Bootstrap”When no users exist in the database, the first person to register automatically becomes an admin. After that, registration is controlled by the allowRegistration setting.
This ensures you can always bootstrap a fresh deployment without needing to seed the database manually.
Next Steps
Section titled “Next Steps”- Storage — File storage configuration
- Collections — Permissions per collection